Does your home ventilation also sounds like an airplane passing by?
Introduction
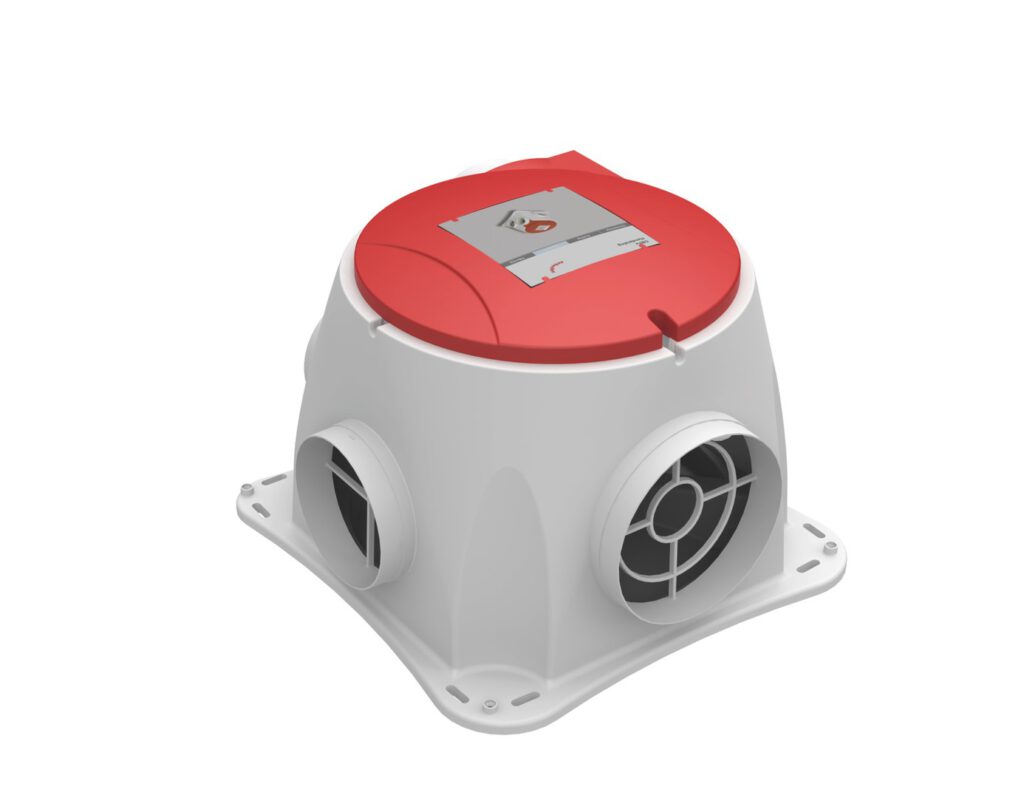
About 7 years ago I installed a Zehnder (formerly StorkAir) Comfofan S in my house. It was still working but also becoming noisier and noisier over time. I wondered if it was time to replace it and if maybe newer once are more energy efficient.
Basically the answer is no. Home fans used to run on AC and the biggest energy improvement was done when they started to change those fans to DC. The Comfofan S is already a DC based fan, so I don’t expect much efficiency improvement from buying a new fan.
You can simply order a new (or revised) motor-part for the fan. You can replace it with only a flat screwdriver without even touching the ducts. But at a price point of >200 euro I found that a pretty expensive solution.
There are also shops that replace ball bearings for you. Simply send them your motorpart and they will return it to you. Price: >50 euro
But, how about fixing it by yourself? It seems the Comfofan S is pretty similar to the BUVA Boxstream (instructions on Youtube) and the Zehnder/StorkAir CMF (watch out: inefficient AC motor!). They al use ebmPapst fans, so I expected mine to be more or less the same and I just started.
Warning: this is an easy job, but you do need basic knowledge about how the handle electricity. You must be able to safely connect and disconnect wires and remember you are working on 230V electricity that could potentially kill you. Also you need some skill taking things apart and putting them back together again. Dropping parts will probably damage them. If you get nightmares from IKEA, don’t start. Proceed at your own risk!
Stuff you need
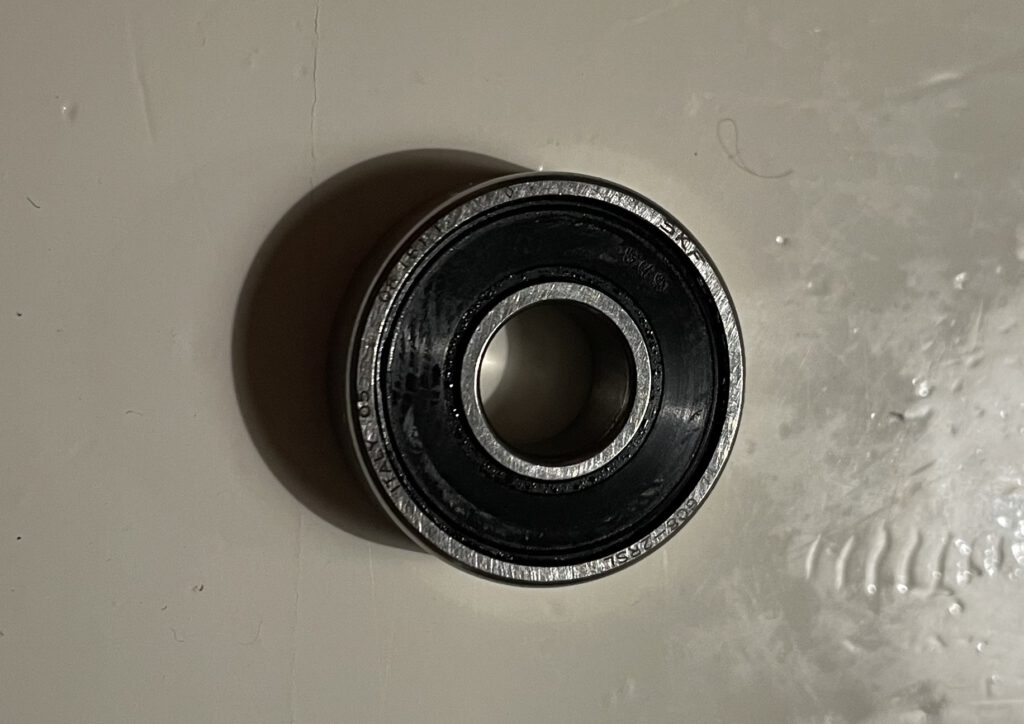
- 2 ball bearings size 608. I used SKF 608 2RSL (2 RS = sealed sides, L = low friction). 608 ball bearings are more or less the most standard ball bearings you can get. They are used in skates, 3D printers, walkers etc. The cheap ones are less than 1 euro, but the SKFs seem to be the really good ones. Choose whatever you like, but remember your fan is probably running 24/7. Increased friction, will lead to increased energy consumption.
- Big flat screwdriver
- Small flat screwdriver
- Torx screwdriver/bits. I’m not sure, probably T30 and T20.
- Needle nose pliers (I used one, but you can probably do without)
- 45 minutes, probably less, since you have this guide.
Step 1: Disconnect and remove motor part
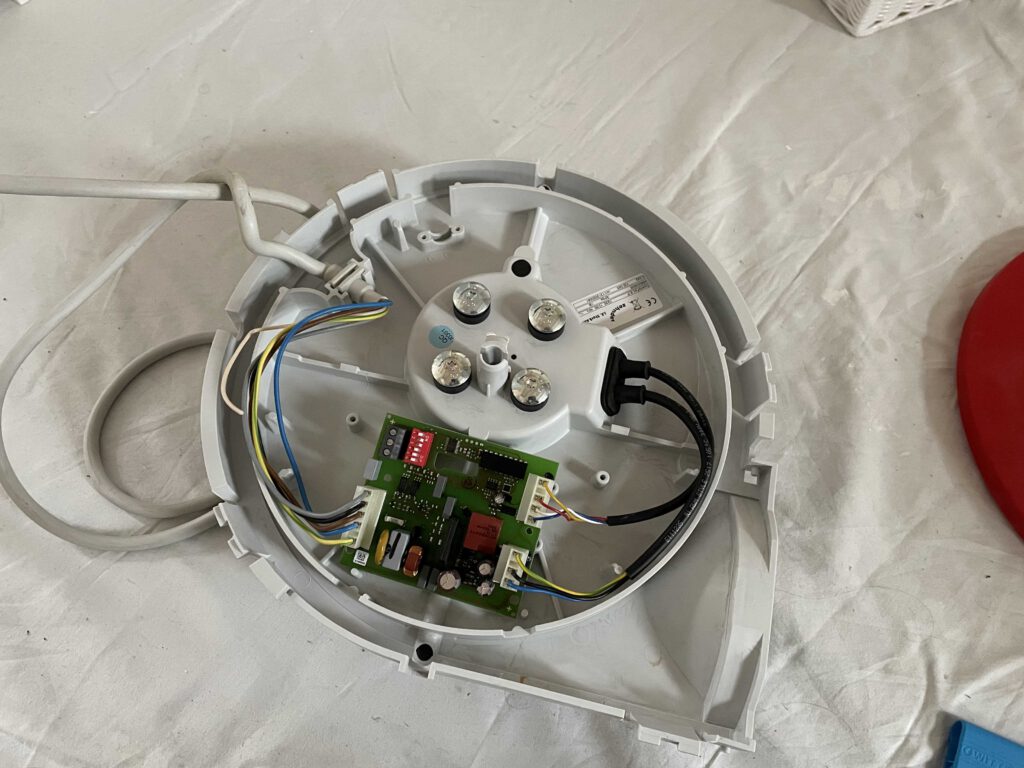
Start with disconnecting the unit from electricity and remove the motor part from the unit. First remove the (in my case red) cover by turning it and applying some pressure on the connection-point in the middle. After that, remove the motor-part by forcing a big flat screwdriver in between the 4 clips holding the part in place.
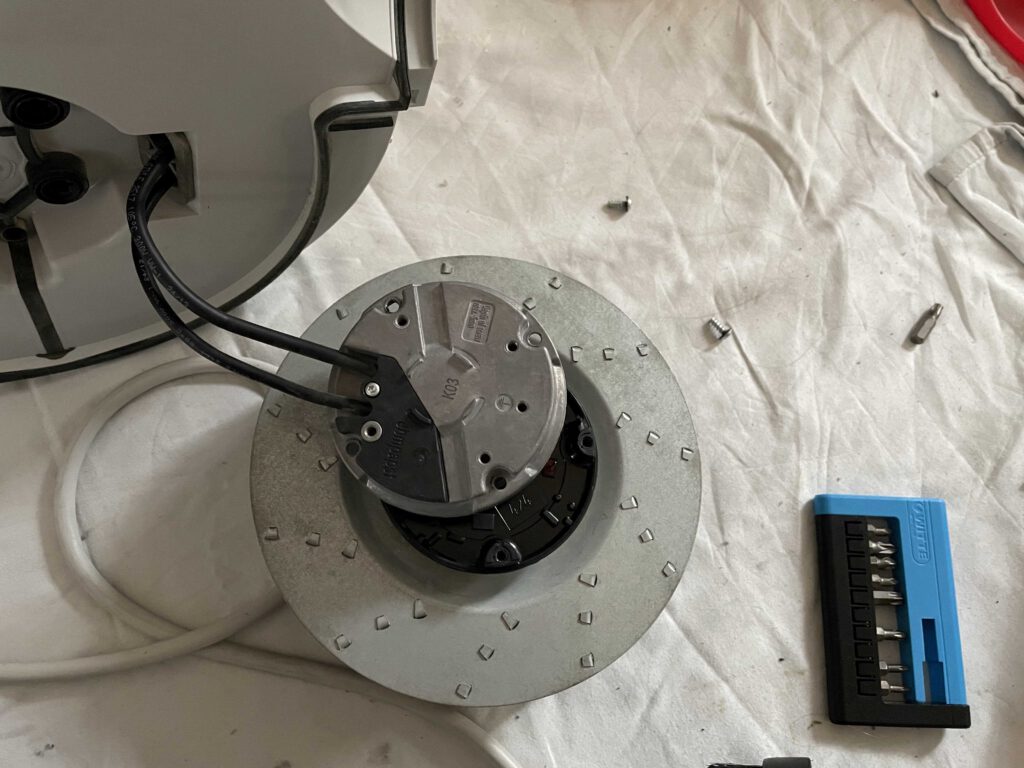
You can find instructions in the user manual. You will end up with this:
Step 2: Remove and open motor/fan
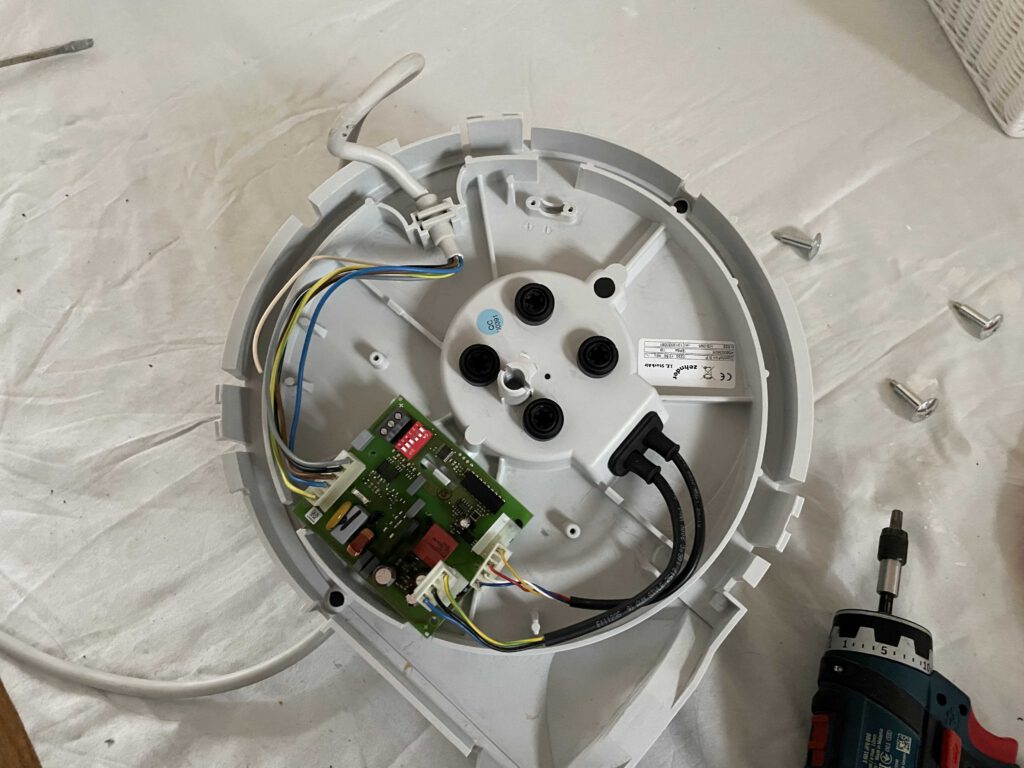
You don’t need to disconnect any other wires, but you can disconnect the 2 black cables which connect the print to to motor. This will make it easier to move the motor in the next step. In my case, the print itself came loose as well, disconnecting cables wasn’t really necessary.
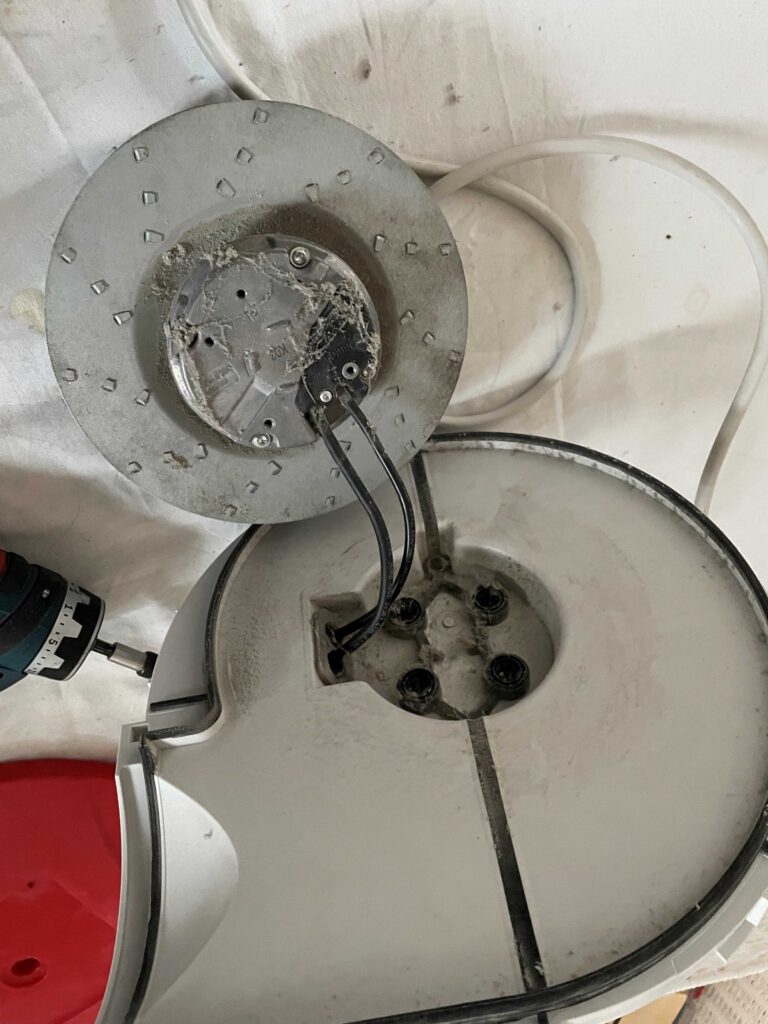
Next, remove the 4 big Torx screws in the middle. Note that the screws are not that tight. The motor/fan is loose now, so gently take the motor and the plastic piece apart by moving the black wires through the holes.
Don’t hesitate to clean off any dust you see.
Step 3: Opening the motor/fan itself
You can now remove the smaller 4 Torx screws to open the motor. First remove the screws, then gently pull the motor apart from the cover. You will be pulling 3 connecting pins apart, so make sure to pull straight. You don’t want to break or bend these pins. Also, don’t be surprised if it has to come apart about 2 cm before being completely loose.
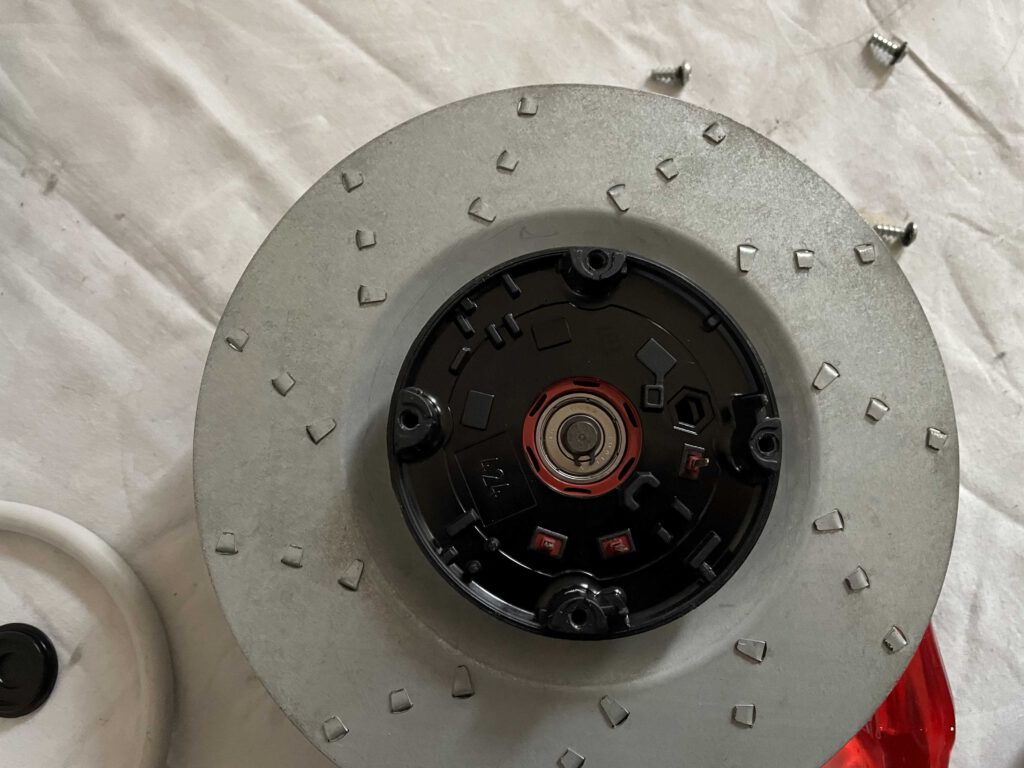
Now remove the small black cover in the middle, and you will get to ball bearing no. 1.!
Step 4: Remove and replace ball bearings
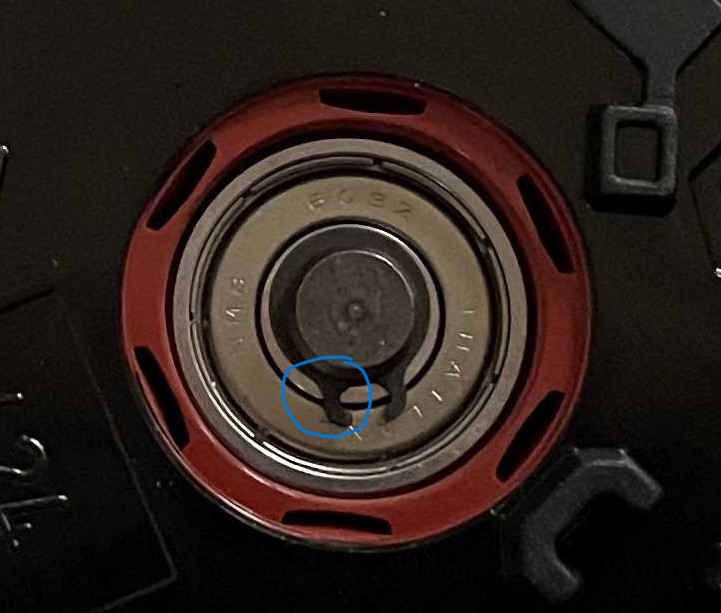
We are almost there! With a small flat screwdriver, you can remove the clip holding the bearings in place. Make sure to not bend the clip too much, because you’ll need it to put everything back together.
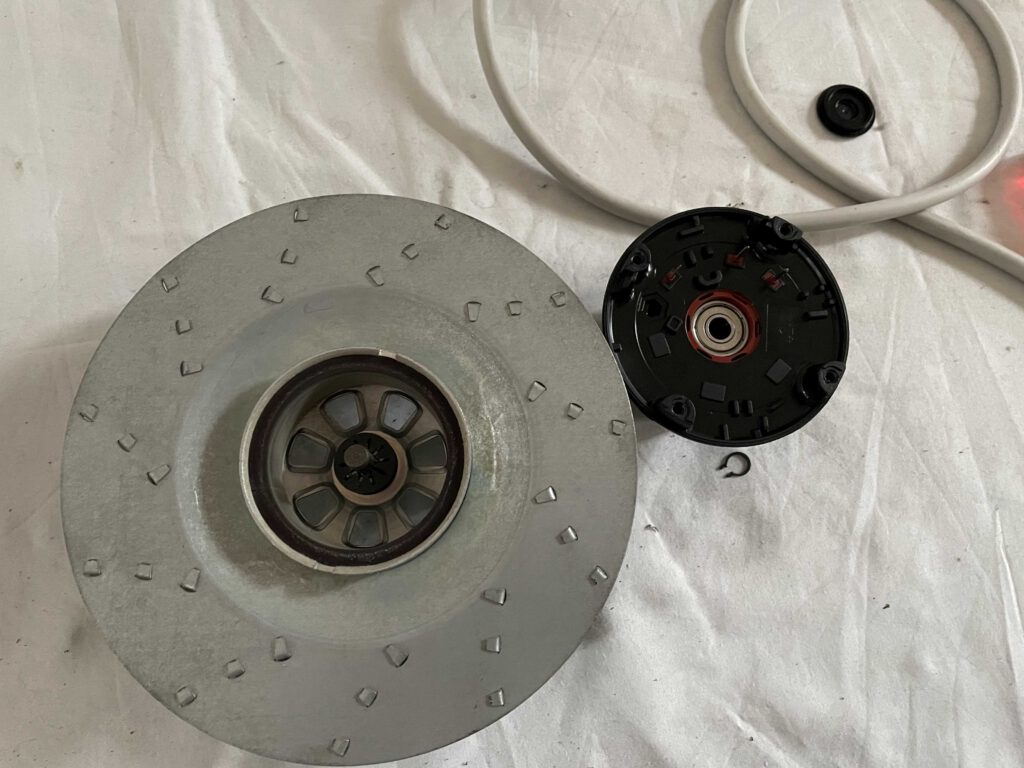
After removing the clip, you will be able to pull the motor and the fan blades apart. You will need some force, because the magnets of the motor will hold these parts together. The axis will remain on the fan. Now you will find the other bearing on the other side of the motor. I pushed both of them out with a screwdriver, both from their respective opposite sides. (So push one out by sliding the screwdriver through the middle of the other one from the backside).
Next you can simply insert two new ball bearings on either side. Don’t worry if they look different as long as they fit (not too big) and don’t move around (too small).
Step 5: Put everything back together!
Nothing special to put it back together, just do everything in reverse:
- Gently slide the motor back on it’s axis. Don’t forget it’s magnetic, so it will pull itself in place. Make sure the black springs are still inside on the axis
- Push the clip back in place. You will need to firmly push the motor inside (against the springs) to get the clip back on the notch of the axis. I used pliers to squeeze the clip together. Check if the clip is on the notch by pulling a bit.
- Put the small black cover back in place.
- Close the motor part with it’s cover (with the 2 black wires connected to it). Carefully align the 3 pins on the motor with the 3 holes in the cover.
- Insert the 4 small torx screws and tighten them.
- Put the motor/fan back on its plastic base while gently pulling the 2 black wires back to the front side.
- Align the screw holes of both parts by looking through them with some light.
- Insert the 4 big Torx screws and tighten them a bit. Not too much (remember loosening them?), since the rubber acts as a noise damper and tightening them too much, will make your fan noisier.
- Reconnect any wires you may have disconnected
- Clean the fan blades if you haven’t done so before.
- Put the motor part back inside the housing and make sure all 4 clips are locked.
- Insert the plug in the socket and enjoy the soft sound of ventilation.